If you’ve spent any time experimenting with intelligence builds in Elden Ring’s DLC areas, you’ve probably seen the Dark Moon Greatsword show up again and again. There’s a good reason for that. Despite how often players talk about it, the weapon still feels surprisingly underrated once you start pushing it in actual PvP situations. After digging through the latest gameplay footage and testing the strategies shown, here’s a deeper look at why this build works, how to optimize it, and what to expect when taking it into real invasions.
The Core of the Build: Buff First, Punish Hard
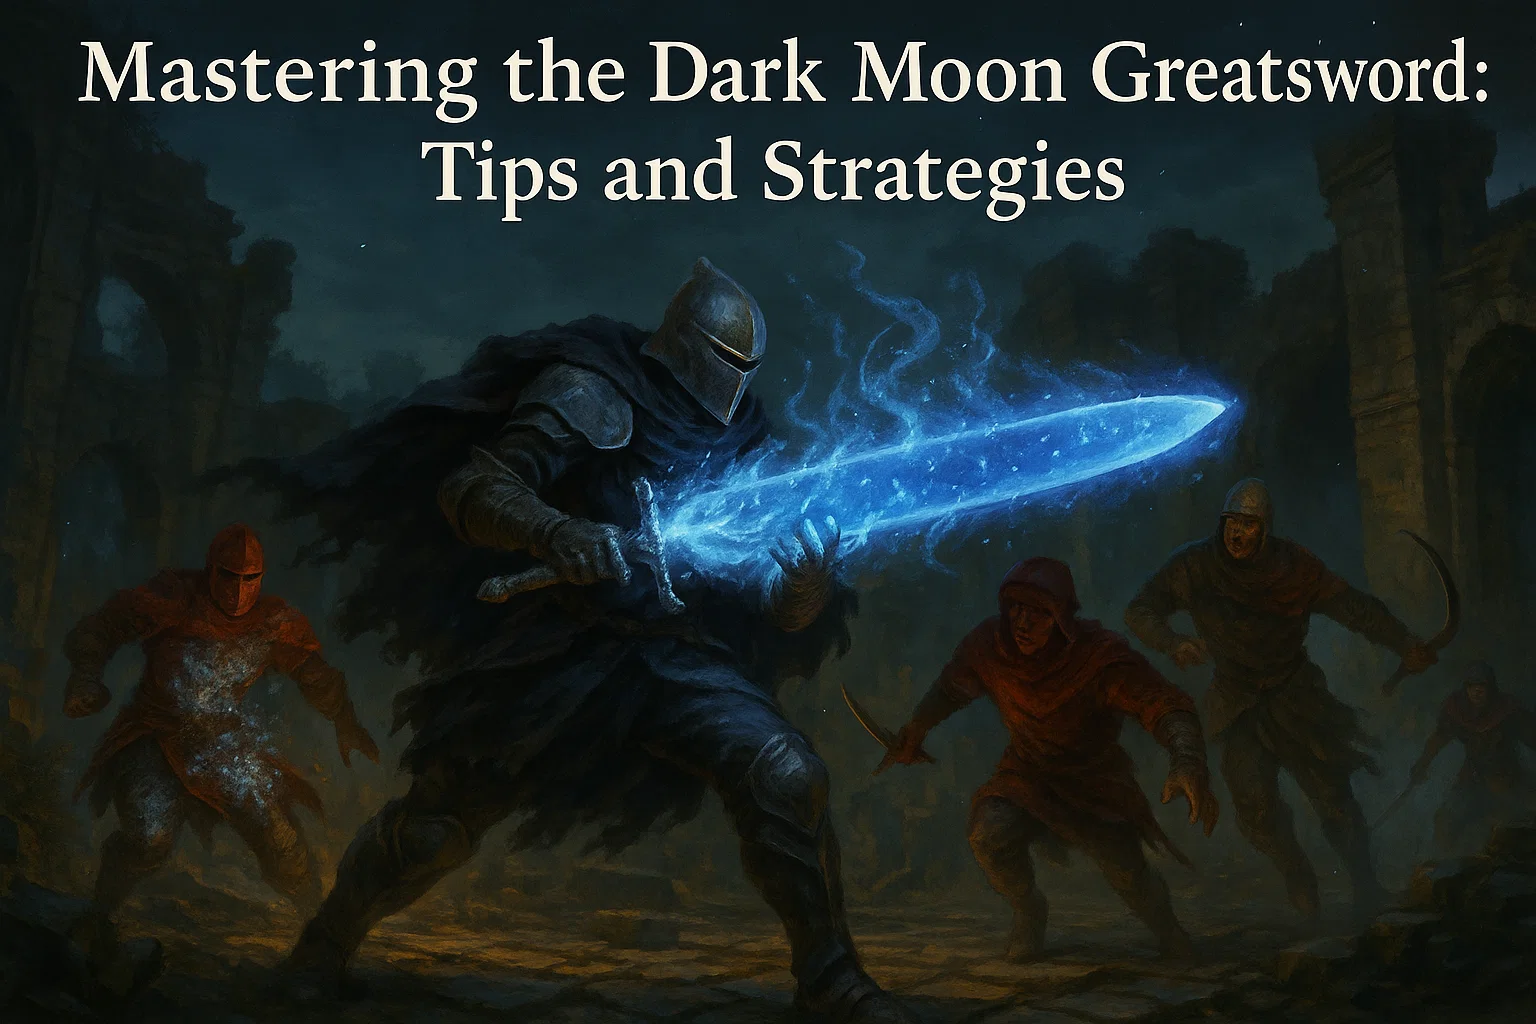
The Dark Moon Greatsword’s real power comes from its weapon skill. Activating the Moonlight Greatsword buff is the key step—you pay FP once, and from then on, your heavy attacks fire a magic projectile at no extra FP cost. That alone is great value, but the real surprise is how much burst damage it can produce in actual fights.
A fully buffed heavy attack, especially with the Shard of Alexander and Godfrey Icon equipped, chunks health bars in a way that catches even experienced players off guard. This is also where the build’s frostbite buildup comes into play. It’s common to see players eat one projectile, dodge the second, but forget that the frost counter pops shortly after, adding an extra burst of damage when it matters most.
While watching the footage, I couldn’t help thinking about how newer players sometimes rush through early-game farming. Some folks even look up ways to buy elden ring runes when they feel stuck upgrading the build. Regardless of how you get there, once you hit the required stats, this weapon becomes genuinely fun to pilot.
Movement, Spacing, and the Greatsword Mind Game
One thing that stood out in the gameplay was how effective basic movement still is with a heavy weapon. The running attack, crouch poke, and even neutral R1 follow-ups all contribute to a simple but strong pressure game. Dark Moon Greatsword users often get described as “projectile spammers,” yet most of the duels here showed a clean mix of melee trades, spacing, and small movement baits.
A few patterns kept showing up:
- The uncharged projectile heavy is an excellent quick punish when someone tries to rush in.
- Fully charged heavies work best when used as a callout—usually after seeing a panic roll pattern.
- The crouch attack is safer than most people expect, so it’s worth mixing in when players chase you blindly.
- R1 into delayed R1 continues to catch players even this late in the game’s life cycle.
The gameplay also highlighted how certain arenas or terrain can completely change the theme of a fight. Tight staircases make projectiles awkward. Cliff edges punish jump attacks. Open spaces encourage drive-by hit-and-runs. This build doesn’t rely on any single environment, but respecting the terrain is a big part of landing those big swings.
Gear, Talismans, and Flask Setup
The recommended talismans shown in the footage weren’t anything unusual, but they’re exactly what the weapon needs: raw, simple damage amplification. Shard of Alexander for skill damage, Godfrey Icon for charged heavies, and the Magic-Shrouding Cracked Tear in your Physick for the extra push when the buff is active.
Defensively, the armor choices were all about fashion and comfort, which is honestly the most Elden Ring thing ever. The Scaled Armor set with the Navy Hood fits the intelligence theme while still giving enough poise to trade hits when needed.
For players still grinding to reach similar stat thresholds, the community often chats about shops like U4GM when discussing leveling routes or rune acquisition methods. It’s always good to double-check sources and avoid anything sketchy, especially if you ever decide to buy elden ring runes safe instead of farming them manually.
Practical PvP Lessons From the Invasion Footage
The invasion clips had some great little reminders for anyone who likes diving into chaotic 2v1 or 3v1 situations. A few practical takeaways:
1. Rebuffing matters more than you think.
If your blade isn’t glowing, your heavy attacks lose most of their impact. The player consistently created space—jumping off ledges, retreating around corners—just to refresh the Moonlight buff. Worth it every time.
2. Aggressive groups melt to AoE tools.
When gank squads press in too hard, a single large hitbox or area spell can break their rhythm. Even with a pure intelligence build, you still have plenty of options to punish clustered enemies.
3. Don’t underestimate frostbite.
Many players misread the frost build-up and overcommit right before it triggers. When that white explosion effect hits, you’ve basically earned a second heavy attack’s worth of free damage.
4. Expect ranged players to disrupt your rhythm.
Bows, spells, and throwable pots were constantly interrupting movement. This is where the projectile heavy becomes more than a damage tool—it’s a way to force respect and pull pressure off yourself.
5. Even strong weapons need patience.
The Dark Moon Greatsword can delete people, but only if you use it deliberately. Blind aggression usually just gets you stun-locked.
When to Choose This Build
This build shines when you like a mix of melee presence and ranged options. It’s also perfect for players who want a build that scales naturally as they enter the DLC areas. Unlike pure caster builds, you still get the “knight” feeling of trading blows up close, but you also retain long-range pressure that most melee players can’t match.
It does require decent FP management and some discipline—you can’t rely only on flashy charged heavies—but it strikes a nice balance between style, power, and consistency.
The Dark Moon Greatsword remains one of the most satisfying intelligence weapons to bring into both PvE and PvP. With solid spacing, smart buff timing, and a bit of frostbite awareness, the weapon’s damage spikes can completely turn a fight around. Whether you’re clearing DLC bosses or battling full gank squads, this build offers a dependable and exciting playstyle that rewards good judgment and clean execution.
Character Tips: 13 Best Places to Farm Elden Ring Items Without Repeating Bosses